How to self-host your own Nostr Nsec.app (NIP46) server
Nostr decentralized network is growing exponentially day by day and new stuff comes out everyday. We can now use a NIP46 server to proxify our nsec key to avoid to use it to log on Nostr websites and possibly leak it, by mistake or by malicious persons. That’s the point of this tutorial, setup a NIP46 server Nsec.app with its own Nostr relay. You’ll be able to use it for you and let people use it, every data is stored locally in your internet browser. It’s an non-custodial application, like wallets !
It’s nearly a perfect solution (because nothing is perfect as we know) and that makes the daily use of Nostr keys much more secure and you’ll see, much more sexy ! Look:
Nsec.app is not the only NIP46 server, in fact, @PABLOF7z was the first to create a NIP46 server called nsecBunker. You can also self-hosted nsecBunkerd, you can find a detailed explanation here : nsecbunkerd. I may write a how to self-host nsecBunkderd soon.
If you want more information about its bunker and what’s behind this tutorial, you can check these links :
Few stuffs before beginning
Spoiler : I didn’t automatized everything. The goal here is not to give you a full 1 click installation process, it’s more to let you see and understand all the little things to configure and understand how works Nsec.app and the NIP46. There is a little bit of work, yes, but you’ll be happy when it will work! Believe me.
Before entering into the battlefield, you must have few things : A working VPS with direct access to internet or a computer at home but NAT will certain make your life a hell. Use a VPS instead, on DigitalOcean, Linode, Scaleway, as you wish. A web domain that your own because we need to use at least 3 DNS A records (you can choose the subdomain you like) : domain.tld, noauth.domain.tld, noauth.domain.tld. You need to have some programs already installed : git, docker, docker-compose, nano/vi. if you fill in all the boxes, we can move forward !
Let’s install everything !
I build a repo with a docker-compose file with all the required stuff to make the Bunker works :
Nsec.app front-end : noauth Nsec.app back-end : noauthd Nostr relay : strfry Nostr NIP05 : easy-nip5
First thing to do is to clone the repo “nsec-app-docker” from my repo:
$ git clone git clone https://github.com/PastaGringo/nsec-app-docker.git
$ cd nsec-app-docker
When it’s done, you’ll have to do several things to make it work.
- You need to generate some keys for the web-push library (keep them for later) :
$ docker run pastagringo/web-push-generate-keys

Generating your web-push keys...

Your private key : rQeqFIYKkInRqBSR3c5iTE3IqBRsfvbq_R4hbFHvywE
Your public key  : BFW4TA-lUvCq_az5fuQQAjCi-276wyeGUSnUx4UbGaPPJwEemUqp3Rr3oTnxbf0d4IYJi5mxUJOY4KR3ZTi3hVc
- Generate a new keys pair (nsec/npub) for the NIP46 server by clicking on “Generate new key” from NostrTool website: nostrtool.com.
You should have something like this :
Nostr private key (nsec):
keep this -> nsec1zcyanx8zptarrmfmefr627zccrug3q2vhpfnzucq78357hshs72qecvxk6
Nostr private key (hex):
1609d998e20afa31ed3bca47a57858c0f888814cb853317300f1e34f5e178794
Nostr public key (npub):
npub1ywzwtnzeh64l560a9j9q5h64pf4wvencv2nn0x4h0zw2x76g8vrq68cmyz
Nostr public key (hex):
keep this -> 2384e5cc59beabfa69fd2c8a0a5f550a6ae6667862a7379ab7789ca37b483b06
You need to keep Nostr private key (nsec) & Nostr public key (npub). 3) Open (nano/vi) the .env file located in the current folder and fill all the required info :
#traefik
EMAIL=pastagringo@fractalized.net  <-- replace with your own domain
NSEC_ROOT_DOMAIN=plebes.ovh <-- replace with your own domain <-- replace with your own relay domain
RELAY_DOMAIN=relay.plebes.ovh <-- replace with your own noauth domainay.plebes.ovh <-- replace with your own relay domain <-- replace with your own noauth domain
NOAUTH_DOMAIN=noauth.plebes.ovh <-- replace with your own noauth domain
NOAUTHD_DOMAIN=noauthd.plebes.ovh <-- replace with your own noauth domain

#noauth
APP_WEB_PUSH_PUBKEY=BGVa7TMQus_KVn7tAwPkpwnU_bpr1i6B7D_3TT-AwkPlPd5fNcZsoCkJkJylVOn7kZ-9JZLpyOmt7U9rAtC-zeg <-- replace with your own web push public key
APP_NOAUTHD_URL=https://$NOAUTHD_DOMAIN
APP_DOMAIN=$NSEC_ROOT_DOMAIN
APP_RELAY=wss://$RELAY_DOMAIN

#noauthd
PUSH_PUBKEY=$APP_WEB_PUSH_PUBKEY
PUSH_SECRET=_Sz8wgp56KERD5R4Zj5rX_owrWQGyHDyY4Pbf5vnFU0 <-- replace with your own web push private key
ORIGIN=https://$NOAUTHD_DOMAIN
DATABASE_URL=file:./prod.db
BUNKER_NSEC=nsec1f43635rzv6lsazzsl3hfsrum9u8chn3pyjez5qx0ypxl28lcar2suy6hgn <-- replace with your the bunker nsec key
BUNKER_RELAY=wss://$RELAY_DOMAIN
BUNKER_DOMAIN=$NSEC_ROOT_DOMAIN
BUNKER_ORIGIN=https://$NOAUTH_DOMAIN
Be aware of noauth and noauthd (the d letter). Next, save and quit. 4) You now need to modify the nostr.json file used for the NIP05 to indicate which relay your bunker will use. You need to set the bunker HEX PUBLIC KEY (I replaced the info with the one I get from NostrTool before) :
nano easy-nip5/nostr.json
{
  "names": {
      "_": "ServerHexPubKey"
  },
  "nip46": {
      "ServerHexPubKey": [
          "wss://ReplaceWithYourRelayDomain"
      ]
  }
}
- You can now run the docker compose file by running the command (first run can take a bit of time because the noauth container needs to build the npm project):
$ docker compose up -d
- Before creating our first user into the Nostr Bunker, we need to test if all the required services are up. You should have :
noauth :
noauthd :
CANNOT GET /
https://noauthd.yourdomain.tld/name :
{
    "error": "Specify npub"
}
https://yourdomain.tld/.well-known/nostr.json :
{
    "names": {
        "_": "ServerHexPubKey"
    },
    "nip46": {
        "ServerHexPubKey": [
            "wss://ReplaceWithYourRelayDomain"
        ]
    }
}
If you have everything working, we can try to create a new user!
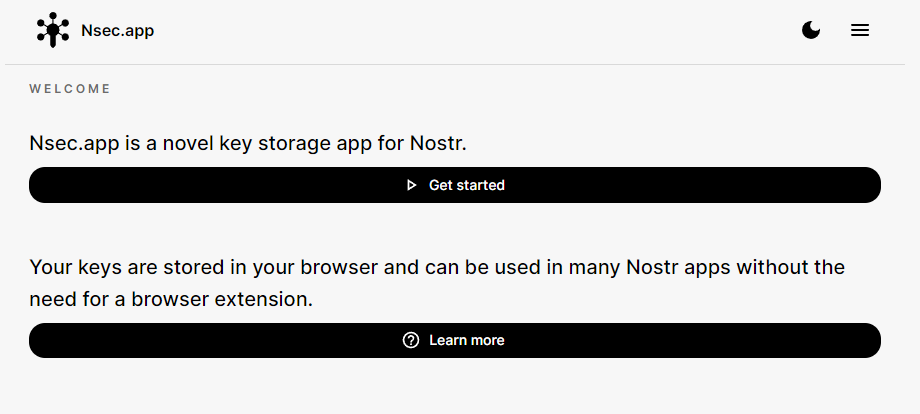
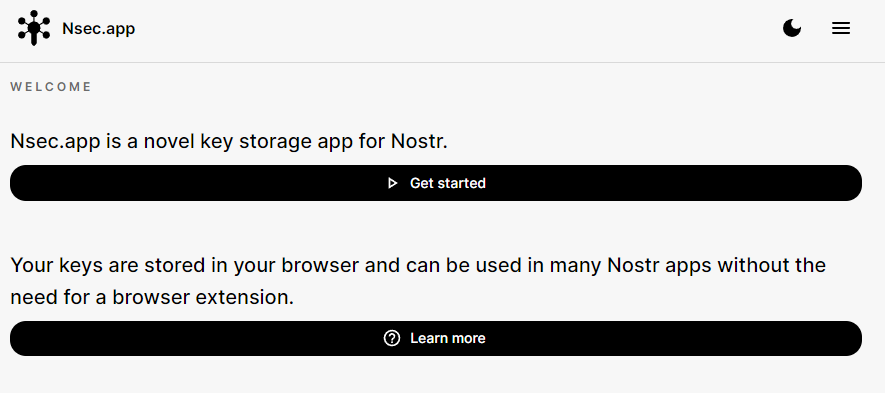
- Connect to noauth and click on “Get Started” :
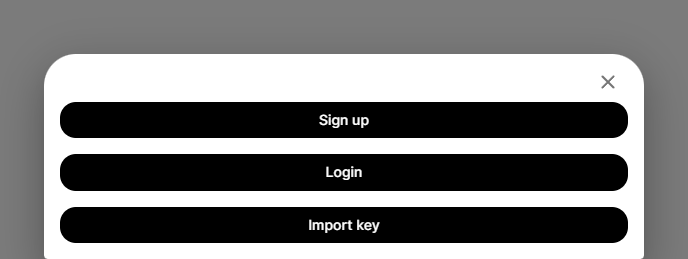
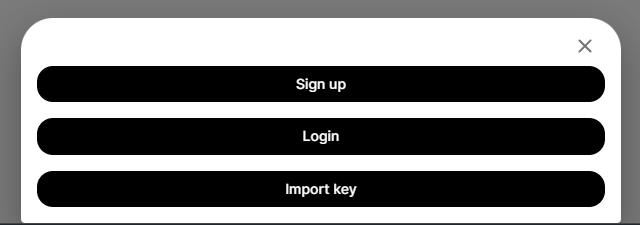
At the bottom the screen, click on “Sign up” :
Fill a username and click on “Create account” :
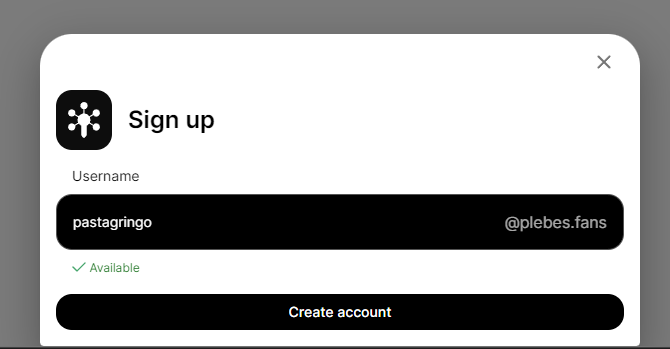
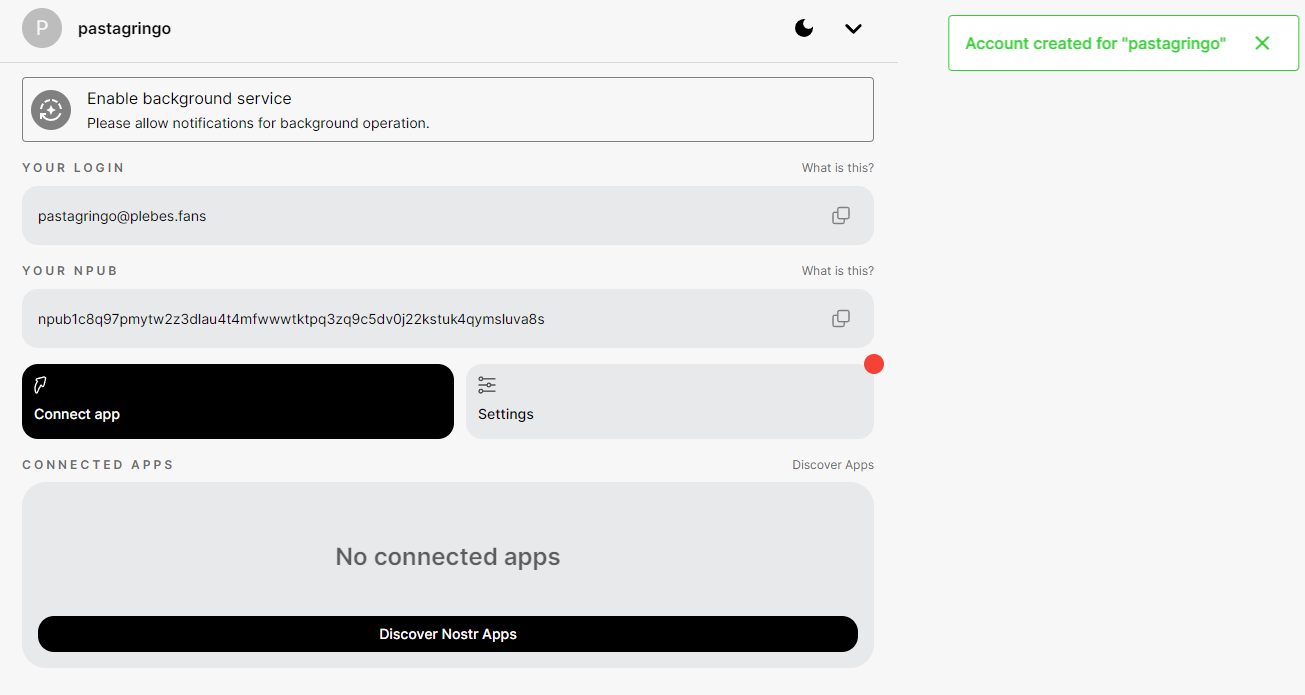
If everything has been correctly configured, you should see a pop message with “Account created for “XXXX” :
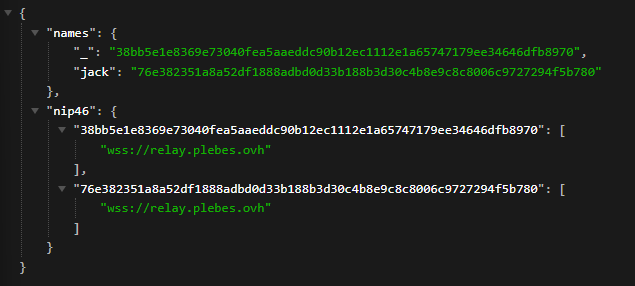
PS : to know if noauthd is well serving the nostr.json file, you can check this URL : https://yourdomain.tld/.well-known/nostr.json?name=YourUser You should see that the user has now NIP05/NIP46 entries :
If the user creation failed, you’ll see a red pop-up saying “Something went wrong!” :
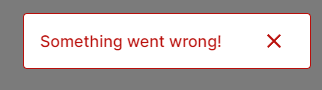
To understand what happened, you need to inspect the web page to find the error :
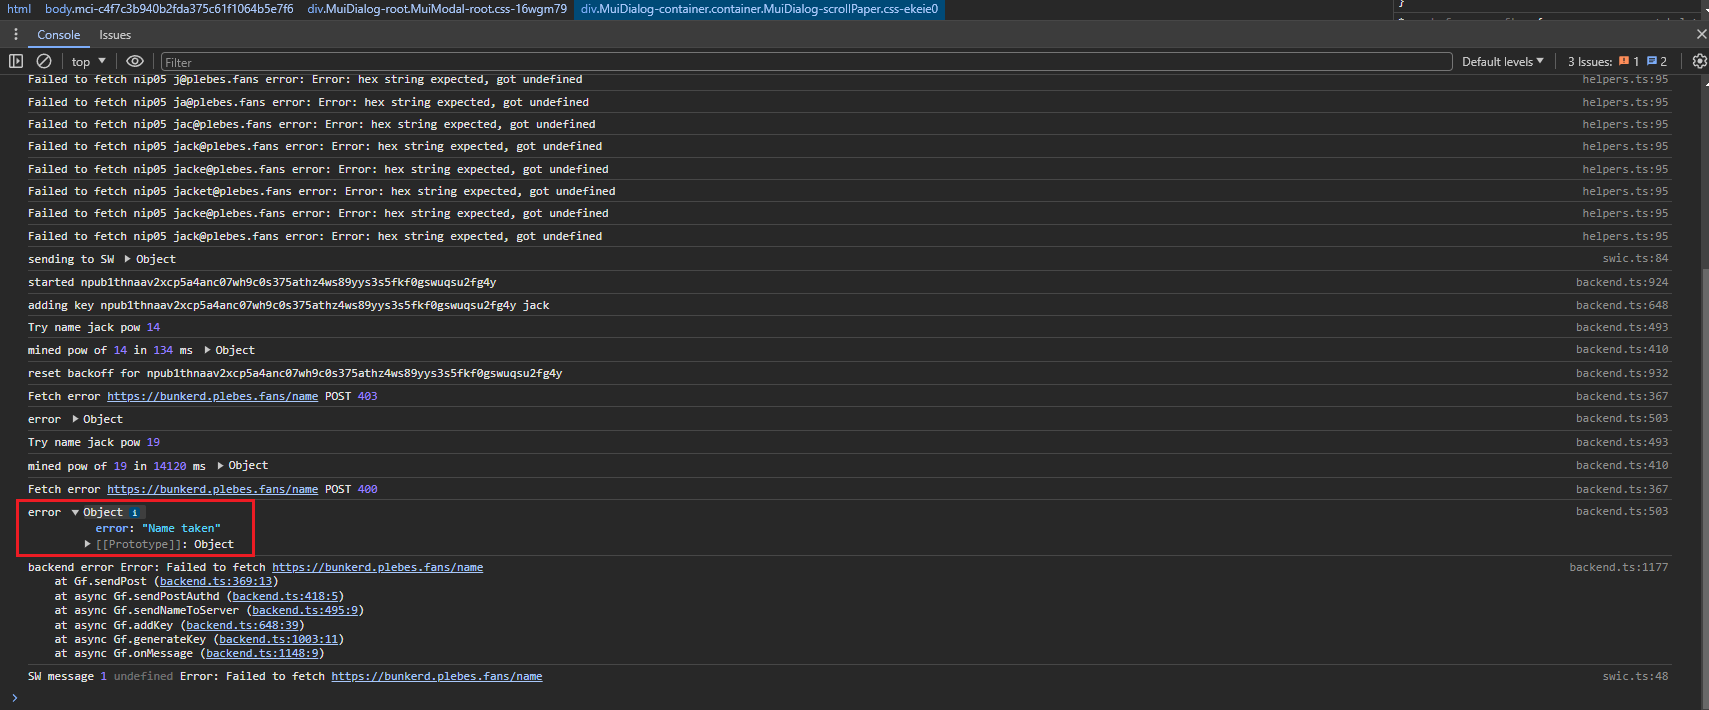
For the example, I tried to recreate a user “jack” which has already been created. You may find a lot of different errors depending of the configuration you made. You can find that the relay is not reachable on w s s : / /, you can find that the noauthd is not accessible too, etc. Every answers should be in this place.
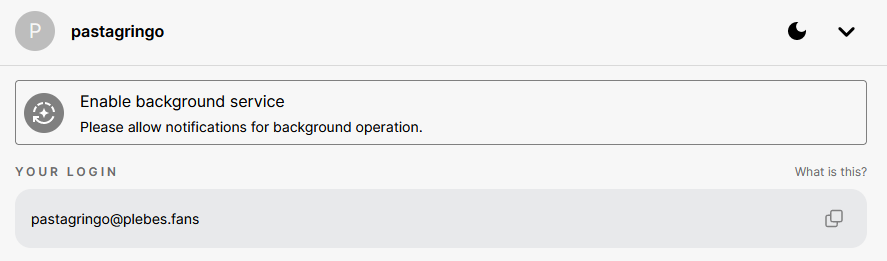
To completely finish the tests, you need to enable the browser notifications, otherwise you won’t see the pop-up when you’ll logon on Nostr web client, by clicking on “Enable background service” :
You need to click on allow notifications :

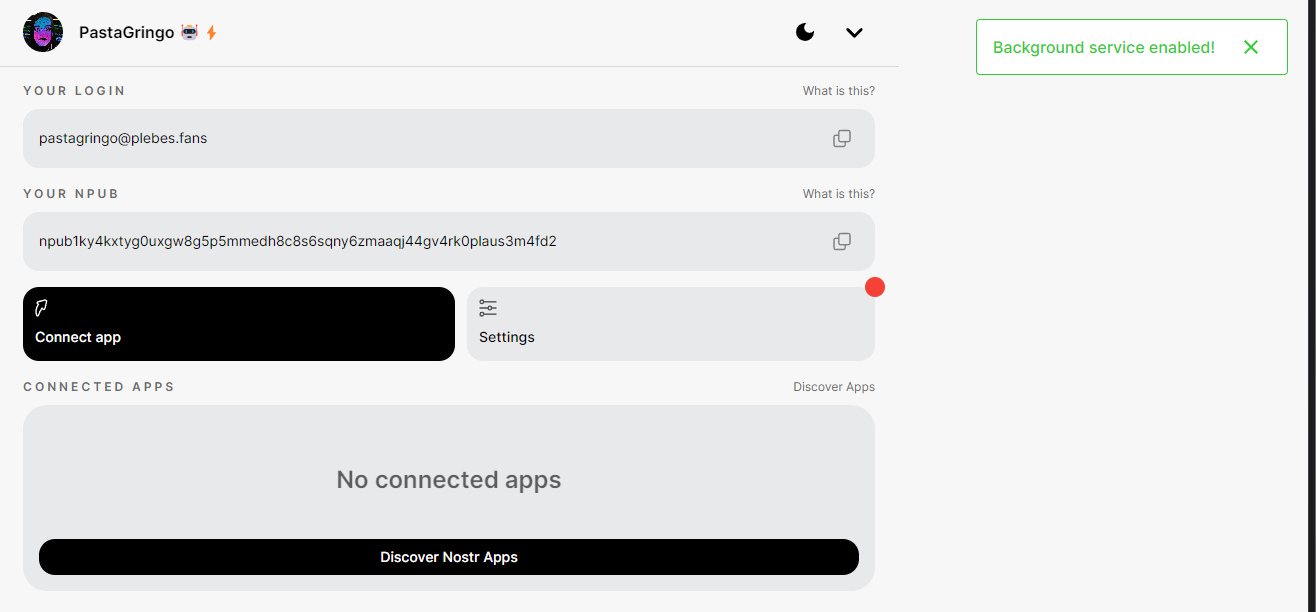
Should see this green confirmation popup on top right of your screen:
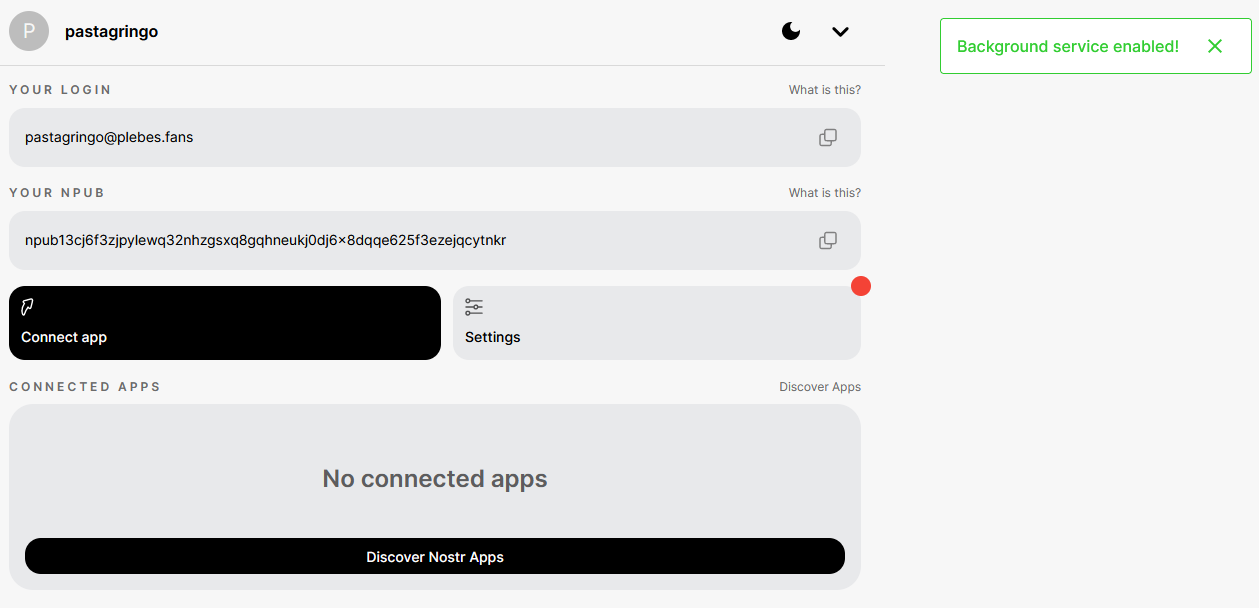
Well… Everything works now !
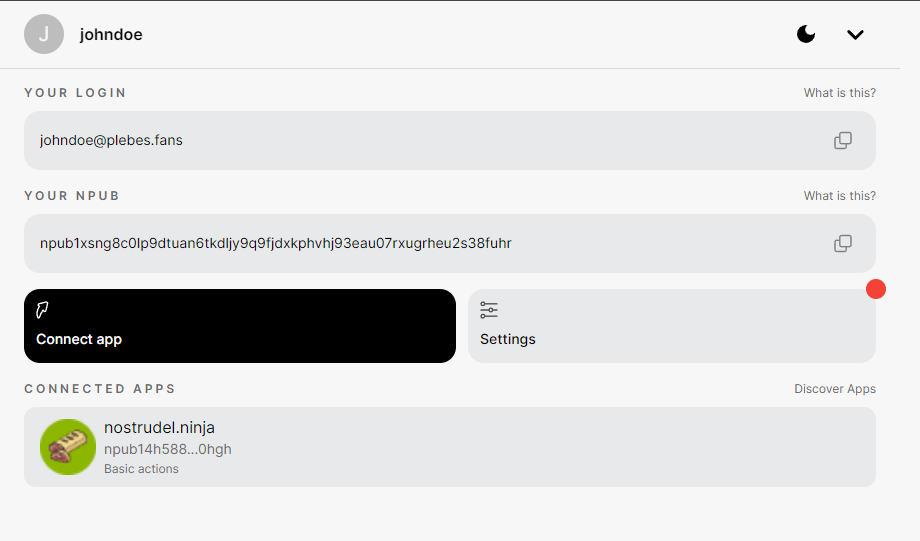
- You try to use your brand new proxyfied npub by clicking on “Connect App” and buy copying your bunker URL :
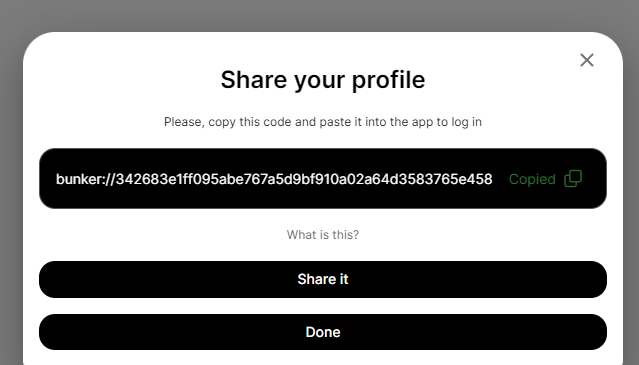
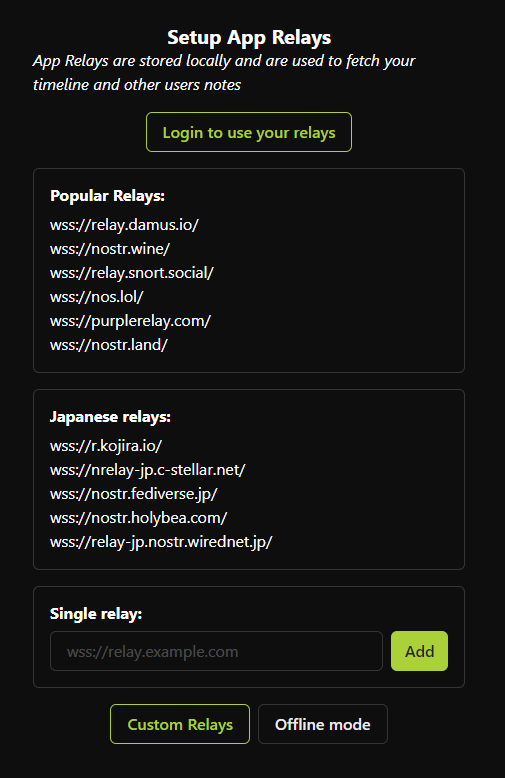
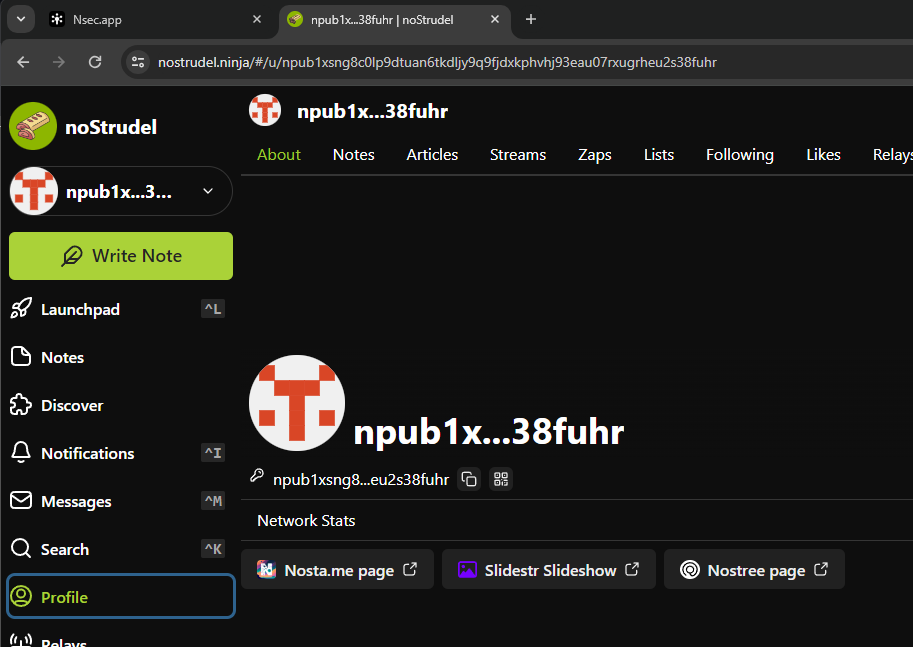
You can now to for instance on Nostrudel Nostr web client to login with it. Select the relays you want (Popular is better ; if you don’t have multiple relay configured on your Nostr profile, avoid “Login to use your relay”) :
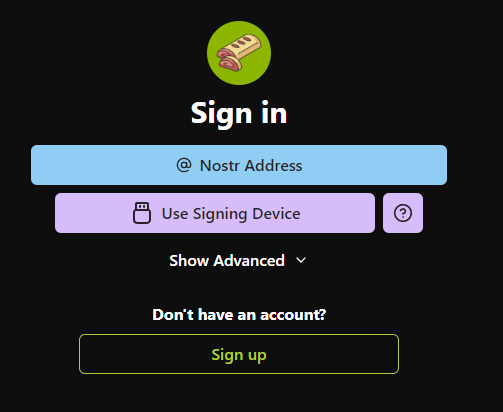
Click on “Sign in” :

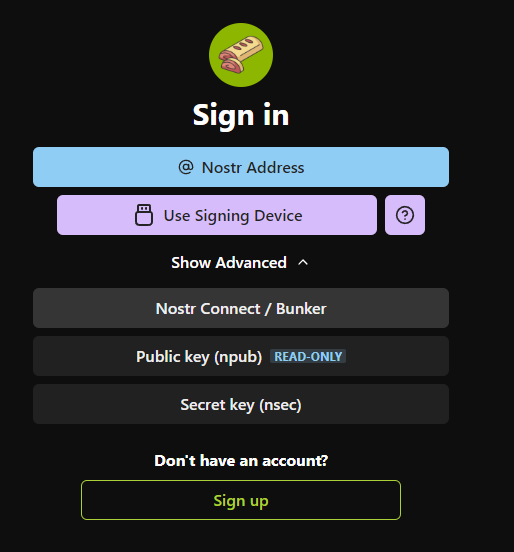
Click on “Show Advanced” :
Click on “Nostr connect / Bunker” :
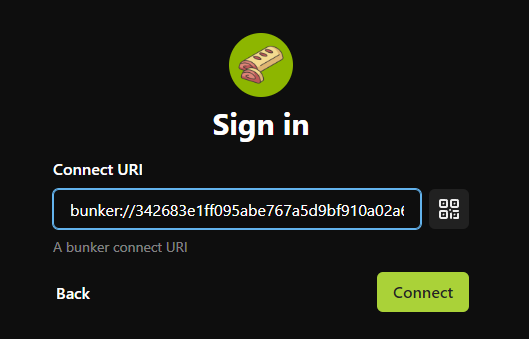
Paste your bunker URL and click on “Connect” :
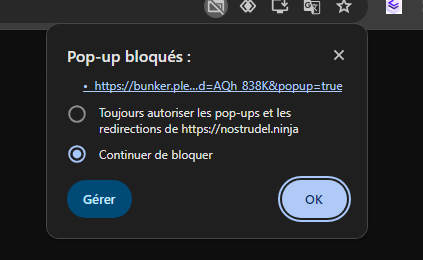
The first time, tour browser (Chrome here) may blocks the popup, you need to allow it :
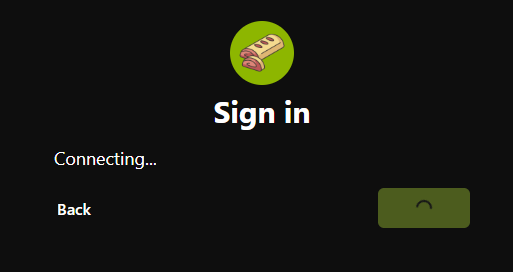
If the browser blocked the popup, NoStrudel will wait your confirmation to login :
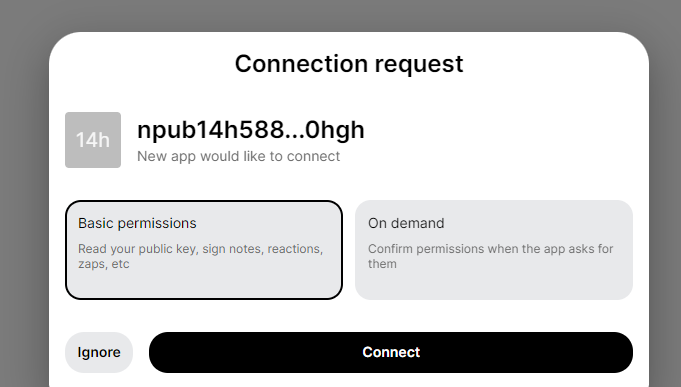
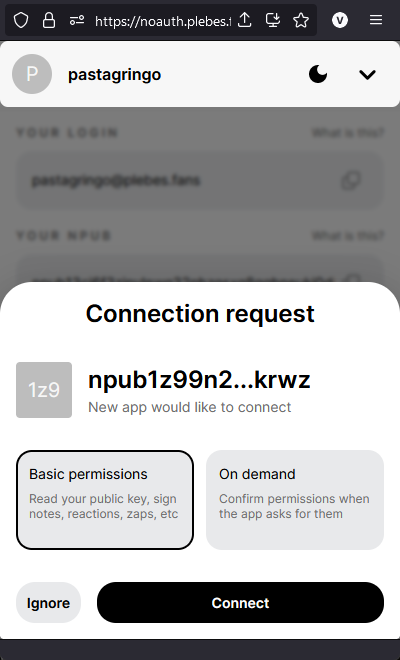
You have to go back on your bunker URL to allow the NoStrudel connection request by clicking on on “Connect”:
The first time connections may be a bit annoying with all the popup authorizations but once it’s done, you can forget them it will connect without any issue. Congrats ! You are connected on NoStrudel with an npub proxyfied key !⚡
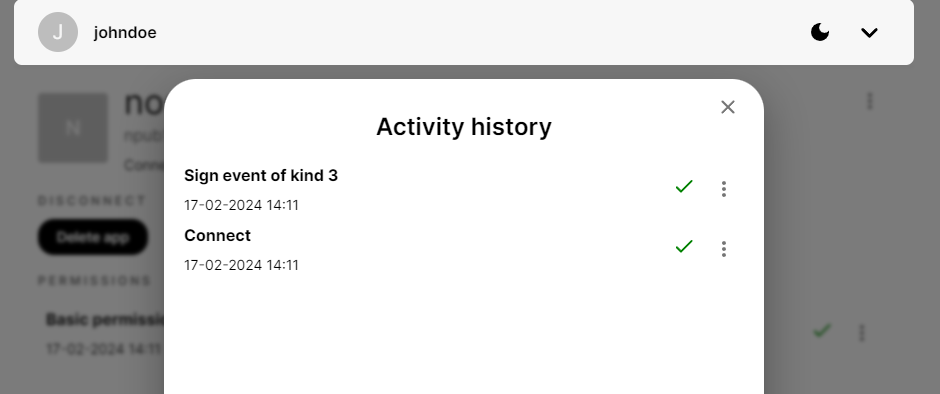
You can check to which applications you gave permissions and activity history in noauth by selecting your user. :
If you want to import your real Nostr profile, the one that everyone knows, you can import your nsec key by adding a new account and select “Import key” and adding your precious nsec key (reminder: your nsec key stays in your browser! The noauth provider won’t have access to it!) :
You can see can that my profile picture has been retrieved and updated into noauth :
I can now use this new pubkey attached my nsec.app server to login in NoStrudel again :

Accounts/keys management in noauthd You can list created keys in your bunkerd by doing these command (CTRL+C to exit) :
$ docker exec -it noauthd node src/index.js list_names
[ '/usr/local/bin/node', '/noauthd/src/index.js', 'list_names' ]
1 jack npub1hjdw2y0t44q4znzal2nxy7vwmpv3qwrreu48uy5afqhxkw6d2nhsxt7x6u 1708173927920n
2 peter npub1yp752u5tr5v5u74kadrzgfjz2lsmyz8dyaxkdp4e0ptmaul4cyxsvpzzjz 1708174748972n
3 john npub1xw45yuvh5c73sc5fmmc3vf2zvmtrzdmz4g2u3p2j8zcgc0ktr8msdz6evs 1708174778968n
4 johndoe npub1xsng8c0lp9dtuan6tkdljy9q9fjdxkphvhj93eau07rxugrheu2s38fuhr 1708174831905n
If you want to delete someone key, you have to do :
$ docker exec -it noauthd node src/index.js delete_name johndoe
[
  '/usr/local/bin/node',
  '/noauthd/src/index.js',
  'delete_name',
  'johndoe'
]
deleted johndoe {
  id: 4,
  name: 'johndoe',
  npub: 'npub1xsng8c0lp9dtuan6tkdljy9q9fjdxkphvhj93eau07rxugrheu2s38fuhr',
  timestamp: 1708174831905n

$ docker exec -it noauthd node src/index.js list_names
[ '/usr/local/bin/node', '/noauthd/src/index.js', 'list_names' ]
1 jack npub1hjdw2y0t44q4znzal2nxy7vwmpv3qwrreu48uy5afqhxkw6d2nhsxt7x6u 1708173927920n
2 peter npub1yp752u5tr5v5u74kadrzgfjz2lsmyz8dyaxkdp4e0ptmaul4cyxsvpzzjz 1708174748972n
3 john npub1xw45yuvh5c73sc5fmmc3vf2zvmtrzdmz4g2u3p2j8zcgc0ktr8msdz6evs 1708174778968n
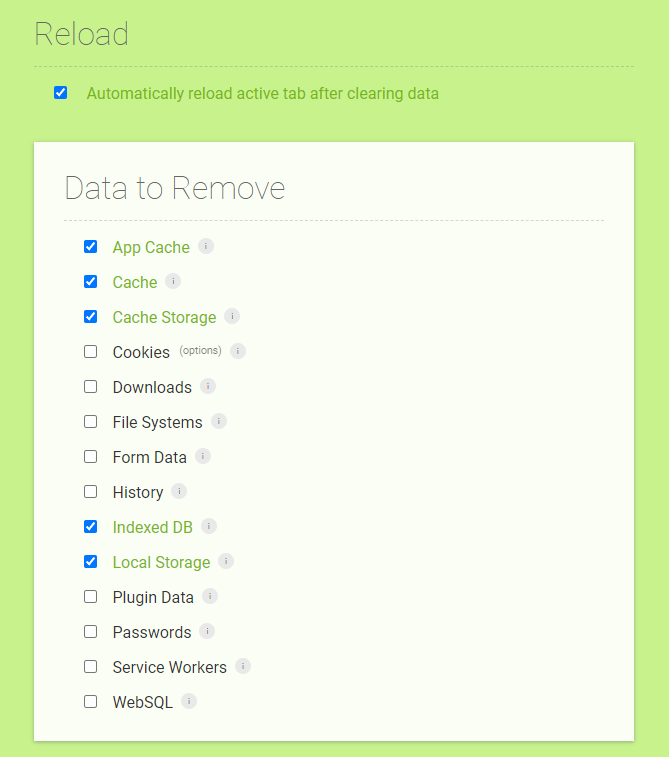
It could be pretty easy to create a script to handle the management of keys but I think @Brugeman may create a web interface for that. Noauth is still very young, changes are committed everyday to fix/enhance the application! As “”“everything”““ is stored locally on your browser, you have to clear the cache of you bunker noauth URL to clean everything. [This ](URL Here)Chome extension is very useful for that. Check these settings in the extension option :
You can now enjoy even more Nostr ⚡ See you soon in another Fractalized story!


Write a comment